
Check out this video where you’ll learn 10 tips for simple, fun and meaningful journaling! (Steps are listed below the video).
10 Tips for Journaling featured in this video:
- Draw Circles on Circles with Creative Memories Circle Cutter. (For directions on how to use the Circle Cutter, check out this video: How to Use Creative Memories Circle Cutter) I purposefully skew the drawn circles inside the cardstock circle just to give it some character…you can also overlap 2-3 drawn circles for a fun look.
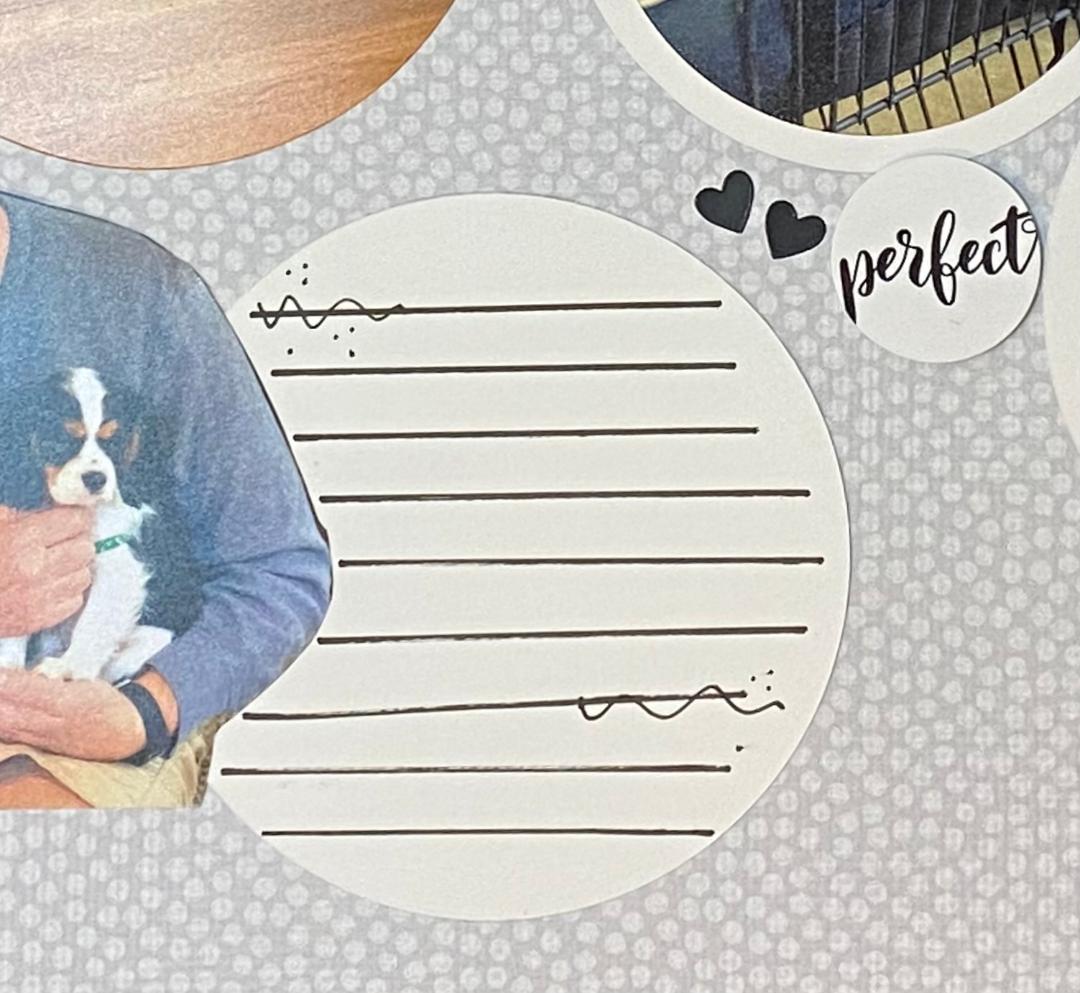
- Fill in Mistakes or Gaps with Doodles. Sometimes when drawing circles, your pen can clump, bleed or skip. You can easily fix that by adding some squiggles and dots!
- Use Sticker Letters for a Title. Sticker Letters really help your titles stand out on your page. I recommend using the Multi-purpose Tool to help with sticker placement. If you are really particular with your word placement, then it is best to start with the middle of the word and work outside from the middle letter. Add fun stickers and a cluster of smaller stickers to enhance your journaling. Add doodle swirls and dots next to your titles.
- Creative Memories Sticker Packs come with words and phrases that make journaling super quick. Use Foam Squares to adhere the stickers (yes, I know that seems redundant) as it will make them stand out on your page!
- Use an acrylic ruler to draw lines onto cardstock. These can be spaced small or large. Don’t worry about getting them perfectly straight. Having gaps and uneven lines can actually enhance your journaling. If the lines are especially wonky, you can add some squiggles and dots to distract from the unevenness. Yes, I know I use a ruler but I only do that for a guide – I don’t actually worry about getting them perfectly straight. After drawing your lines, add your journaling.
- Simplest of all, journal directly on your page. If your photos are in shapes such as circle, I recommend journaling in an arc along the edge of the circle for a fun look on your page.
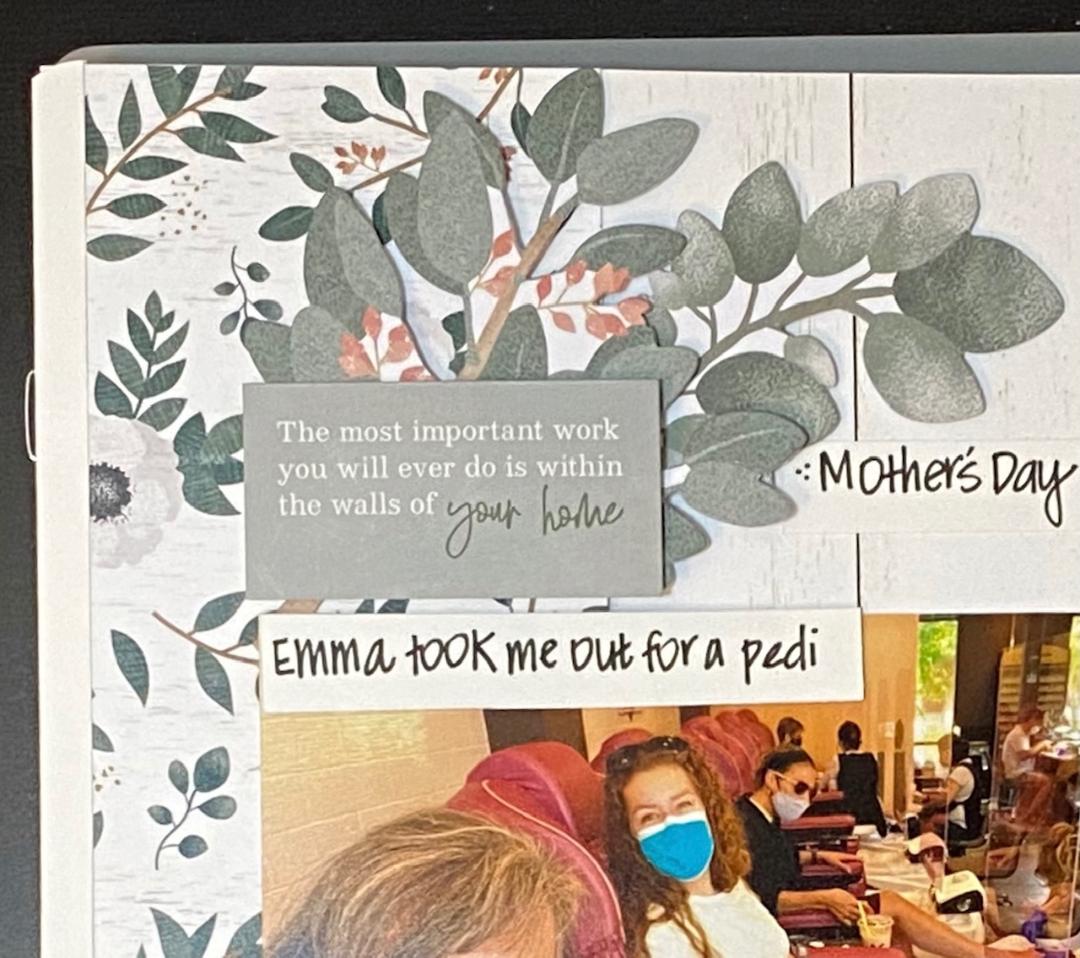
- Add Quotes or Verses. On the corner of your page cluster a couple of large embellishments. Then on top of that, add a Quote Sticker using Foam Squares. Sometimes the perfect quote will be all the journaling you need on a page. You can also make your own by writing bible verses or favorite quotes onto cardstock and then adding that to your page with Foam Squares or write the verses directly on your page or along the edges of your page.
- Add Journaling Strips. Cut strips of white cardstock and add your journaling to each photo on your page. This is especially useful when using Multi-Pocket Pages as it allows you to add journaling without distracting from the photo. Small strips of cardstock are a fun way to journal. Sometimes I cut the strips first but most often I write first then cut the strips because I never know how much room I’ll need and if I cut them first, sometimes I run out of room! I never want to skimp on journaling so I will rewrite what I wanted to say and THEN do the cutting of the strip.
- Use Laser Cut Titles. A few of these are usually found in Creative Memories Embellishments Packs but also can be purchased in a separate packs called Laser Title Embellishments. I LOVE these because of the variety of fonts used which really help to tell the story when you have a creative title on the page. Because they are intricately cut I recommend using Repositionable Tape Runner when adding your Laser Titles. Any excess of the Repo Tape can easily be rubbed off. CM also has a wet adhesive you could use if you prefer. Regular Tape Runner will work on these but often hangs over the edge and you don’t want that! So use Repositionable Tape Runner or a Precision Point Adhesive Pen.
- Fill the Page with Words. On lighter colored backgrounds, after you’ve added your photos, fill the whole page with words. Tell the story behind the photos. It’s ok to pour your heart onto the page, especially in a personal journal. I do that on our scrapbook pages sometimes as well. Our scrapbooks aren’t always the highlight reel. It’s important to add the hard stuff too. And journaling is a great way to go deeper and create more meaningful pages.


I hope these ideas are helpful for you as you write in your scrapbooks, planners and journals. (To see the process video of DL’s May pages, check out May Page Layouts and Tips to Speed Up Your Scrapbooking.
If you would like weekly encouragement with your writing, join my Wednesday Writers Club on Instagram or Facebook!
For simple, fast page ideas for April, check out April Page Layouts and Tips to speed up your scrapbooking
Keep telling your story,
DL
 simple scrapbooking | cardmaking | journaling
1 Comment on 10 Tips for Simple, Fun, and Meaningful Journaling in your Scrapbook Photo Album, Journal or Planner!